
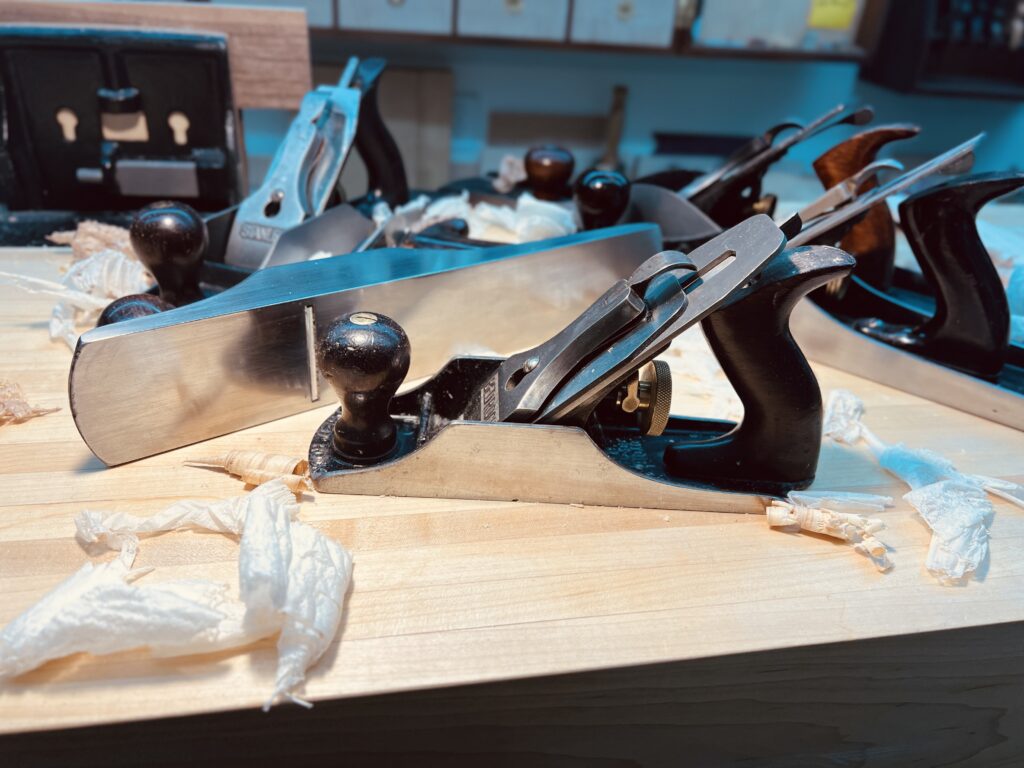
Hand Plane Restoration:
From Rusty Relic to your Favorite Tool!
Experience Level: ANY
Instructor: Christopher Sexton
His Website
Moderator: Jamie Harpster
Class Size: 6
Sessions: 2 session at 5 hours
This course will be in-person at NovaLabs in Fairfax, VA
Course Description
A lot of woodworkers give hand planes a try, only to abandon them in frustration. The blade won’t cut, or worse—it does cut, but only in a way that gouges the wood like an angry badger. The plane chatters, skips, and generally behaves like it’s possessed. Eventually, it gets shoved onto a shelf, where it spends the rest of its days as an overpriced paperweight. The problem isn’t the plane—it’s the setup.
A well-tuned hand plane is a joy to use. It glides effortlessly, producing wispy shavings and leaving a glass like surface. But if it’s not tuned properly? It’s a frustration machine, designed to break your spirit and make you question your life choices.
This class will solve that problem. We’ll take a deep dive into bringing a vintage hand plane back to life, making it a tool you’ll actually want to use. Whether you’re restoring an estate sale find or trying to make peace with the plane that’s been mocking you from your tool rack.
What is covered?
Cleanup & Prep
-Rust removal without overdoing it (no, you don’t need a sandblaster—even if it sounds fun)
-Flattening the sole (how flat is flat enough? The answer may surprise save you some sanity)
-Polishing the sole and cheeks for that frictionless glide
-Checking the frog and throat—because if those aren’t right, nothing else will be
-Touching up the furniture (and learning what woodworkers mean when they say “furniture”)
Chipbreaker & Iron Setup
-Setting the main bevel
-Grinding the chipbreaker bevel to a negative angle (yes, there’s a reason, and no, we didn’t just make this up)
-Polishing the back bevel for crisp shavings and reduced tear-out
-The Charlesworth Ruler Trick—or how to flatten the back of an iron without losing your will to live
-Sharpening: setting a bevel, honing to a razor edge, and debating whether you prefer the Tormek method (fast, effective, slightly expensive) or hand sharpening (slower, but lets you feel superior to people who use jigs)
Final Touches & Assembly
-Cleaning up the furniture (and referring to the knob and tote as “furniture”)
-Waxing everything (because a well-waxed plane is a happy plane, and also because we’re fancy like that)
-Reassembly, setup, and finally—taking shavings without frustration (or at least, without cursing loudly enough for others to hear)
We’ll be getting our hands dirty—lapping, sharpening, and generally bringing neglected tools back from the dead. You can bring your own plane or purchase one from me for a fee. Either way, by the end of the class, you’ll have a properly tuned, working hand plane—and the knowledge to keep it that way.
And if nothing else, you’ll leave with a deep and abiding respect for why old-timey woodworkers had such strong forearms.
Format
Two day course, instruction for the first 2 hours then 3 hours of open shop time to work on things.
Tools Needed
BYOP = Bring Your Own Plane (no 3, 4, or 5 recommended)
Or you can buy one on site for about $30 to $60 from the instructor
We will have everything else on site but if you have a preference on sharpening stones, you can bring your own.
Course Dates
July 12th and 13th, 2025: 9:00 a.m. – 2:00 p.m. ET
-Instruction: 9:00 a.m. – 11:00 a.m. ET
-Shop Time to work on your plane: 11:00 a.m. to 2:00 p.m. ET